 24+ YRS EXPERIENCE IN THE 4WD INDUSTRY
  OVER 12,500 4WD PRODUCTS ONLINE
  20+ STOCKISTS AUSTRALIA WIDE
  SHIPPING AUSTRALIA WIDE & INTERNATIONALLY

Thinking about a lift for your 4WD? Good idea; done right it gives clearance, tyre options and improved capability. Done wrong it costs money, ruins handling, and creates headaches with braking, steering and driveline angles. This technical guide explains the differences between body lifts and suspension lifts; what each actually changes; the components involved; how lift height affects geometry, towing and safety; and a practical checklist to make sure you pick the right kit for your rig and your use case.
Body Lift V.S. Suspension Lift
Which Lift Kit Is Right for Your 4WD? A Technical Guide to Body Lifts vs Suspension Lifts

Quick summary - which to pick?
Body lift (25–75 mm / 1–3 in):
Cheap, simple, keeps chassis height the same; good for tyre clearance and approach angle tweaks;
limited suspension benefits; potential packaging and service issues.
Suspension lift (25–150 mm / 1–6 in):
Changes chassis height and suspension geometry;
gives genuine ground clearance, more travel and better load capacity when specified correctly; requires geometry correction and properly matched components as lift increases.
Rule of thumb:
25–75 mm (1–3 in) body lift for fitment-only tyre clearance; 50–75 mm (2–3 in) suspension lift for touring and towing; 75–150 mm (3–6 in)
suspension lift only with a comprehensive kit that addresses geometry, CV angles, brakes and steering.
What a suspension lift actually does?
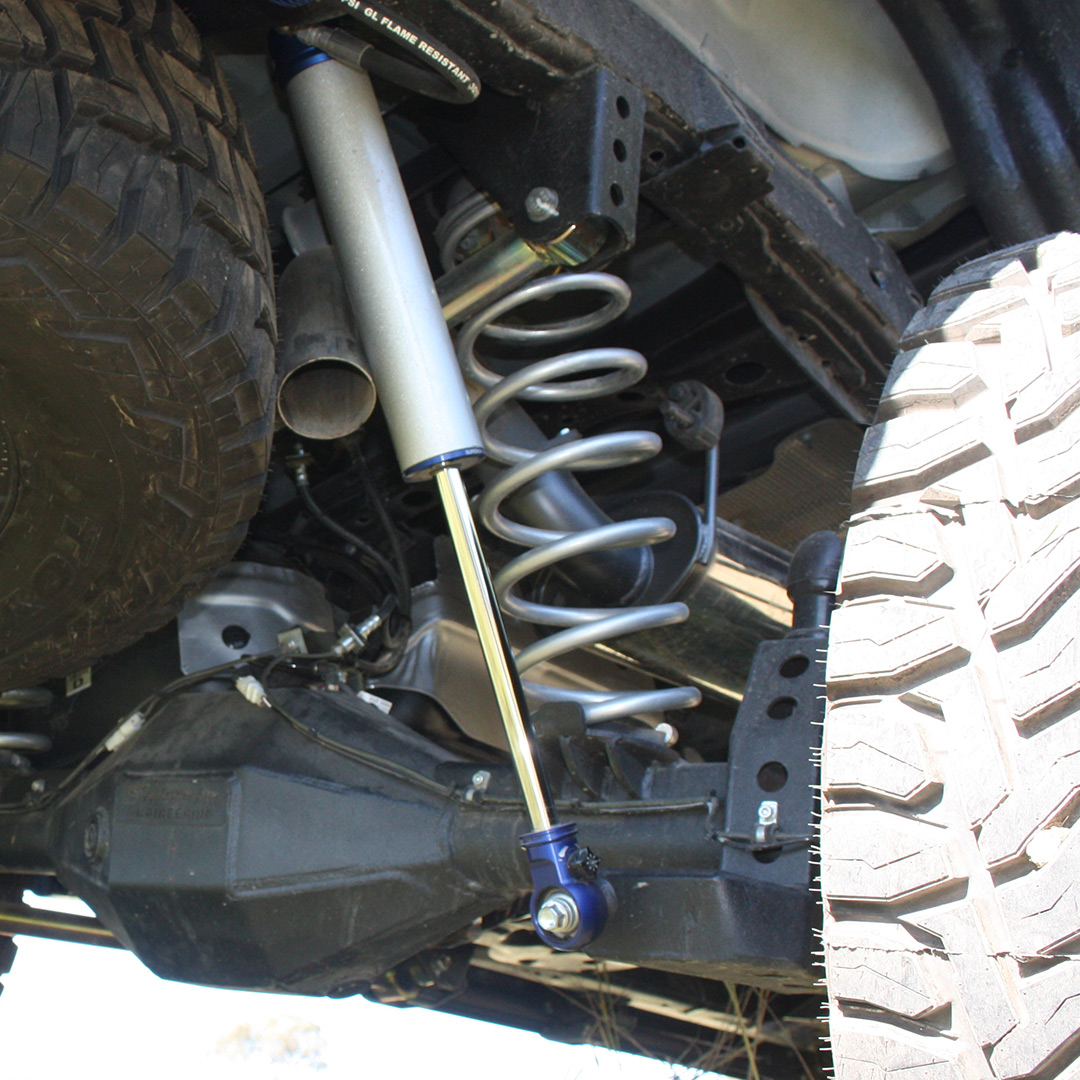
A suspension lift relocates or replaces suspension pick-up points and components so the chassis sits higher relative to the axles. Typical kit components include: longer coil springs or leaf springs, coil spacers, shock absorbers with corrected lengths and valving, extended shackles, torsion bar keys or strut spacers, drop boxes or diff drops, extended control arms and radius arms, extended swaybar links or Superflex systems, upgraded panhard rods, and all associated brackets and hardware. High-quality kits will also provide engineered fixes for steering, geometry and driveline angles.
Key mechanical effects to consider:
Centre of gravity increases: Chassis lift, increasing roll moment. Swaybar tuning and spring rates must match chassis changes.
Steering geometry shifts: Track width, caster and toe can all move outside safe tolerances without correction.
Driveline angles: Pinion and CV angles change; diff drops, tailshaft spacers and matched driveshafts may be required.
Brake and ABS lines: These must be long enough or re-routed to avoid binding at full droop.
Bump stops and limiting straps: Longer shocks typically require bump stop changes or extensions to prevent internal damage.
What a body lift actually does?
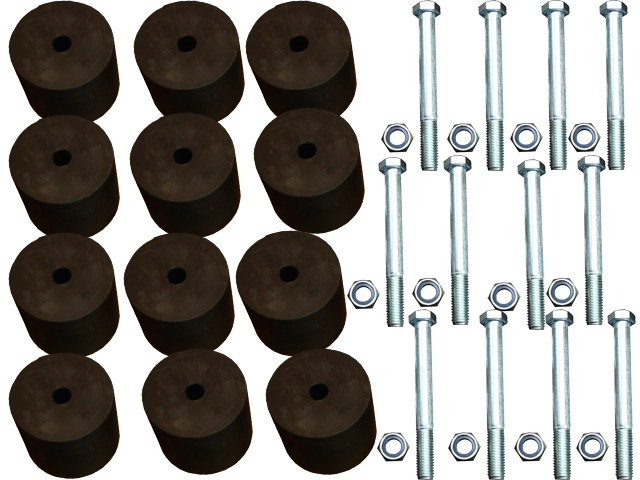
A body lift increases clearance by spacing the body from the chassis with blocks at the body mounts rather than changing suspension geometry. Typical uses are to fit larger tyres, lift the bonnet slightly for intercooler or snorkel clearance, or to improve approach / departure visually.
Mechanical trade-offs and failure modes:
No change to ramp-over clearance because the chassis and drivetrain stay at original height.
Packaging issues such as radiator and fan interference, steering column rub, fuel filler/cap relocation, bumper misalignment, and brake line extension may occur.
Load concentration on body mounts increases; use high-tensile hardware and full-diameter blocks to avoid punching or fatigue of mount points.
No improvement in articulation or suspension travel - just tyre clearance.
How lift height affects choice and complexity
< 25 mm / < 1 in
minor changes; most OE geometry remains acceptable; little or no additional correction needed.
25–50 mm / 1–2 in
mild suspension lift; usually correctable with shocks and springs and minimal geometry fixes. Ideal for daily driven tow rigs.
50–75 mm / 2–3 in
moderate lift; start planning for panhard/diff location correction and longer brake lines. Consider adjustable control arms for fine tuning.
75–150 mm / 3–6 in
serious lift; requires comprehensive kits that address driveshafts, CVs, steering knuckles, bump stops, swaybar geometry and possibly re-indexing of steering components.
Expect to budget for additional components and alignment work.
>150 mm / >6 in
bespoke build zone; requires bespoke arms, re-arched chassis or professional long-travel solutions; carry out full engineering checks

Important components to check with any lift
- Shock closed and extended lengths, and bump stop clearance.
- Spring rates and match to vehicle load (towing, camping, dual-cab loads).
- Control-arm lengths or adjustable arms for correct pinion and caster angles.
- Panhard or track rod length and adjustment to re-centre the axle.
- Diff drop kits or CV-friendly driveline options for IFS and some coil setups.
- Brake line routing and parking brake cable length.
- Steering damper geometry, and steering column clearance for body lifts.
- Wheel offset and tyre sizing to avoid arch rub across articulation.
- ABS sensor wiring, fuel filler and vent hose modifications where necessary.
Practical selection checklist — how to choose a kit
- Decide intended use: daily drive and towing, touring with loaded gear, or serious off-road.
- Choose lift target: pick target ride height in mm/inches and work back through required parts.
- Buy a full kit where possible: single component lifts often create more problems than they solve.
- Match springs to expected payload: touring with fridge and camping gear needs higher rates.
- Confirm geometry fixes are included: diff drops, adjustable arms, corrected panhard rods, swaybar solutions.
- Check shock length and valving: closed length as short as possible, plus correct travel and valving for your weight.
- Budget for ancillaries: driveshafts, wheel alignment, brake lines, bump stops and fitment labour.
- Ask about service, spares and warranty: especially for billet arms, bushings and valved shock options.
Installation, tuning and testing tips
- Always set up and measure at normal loaded ride height with fuel, spare wheel and typical gear onboard.
- After installation: torque all fasteners, perform a full wheel alignment, and do a low-speed road test followed by re-torque after 50–100 km.
- If towing, test with intended trailer load and re-check geometry; towing dramatically alters suspension sag and pinion angles.
- Monitor tyre wear for the first 5,000 km to confirm alignment and camber behaviour.
- Don’t forget to update your logbook, vehicle records and inform relevant insurers if the change affects operability or load ratings.
Common mistakes to avoid
- Fitting long shocks without changing bump stops and limiting straps.
- Buying cheap spacers or thin-body arms that deform under impact.
- Assuming body lifts are a “no-problem” cheap option — they bring packaging and fatigue risks.
- Forgetting to account for tyre diameter vs speedometer/ gearing effects.
- Neglecting driveline angles and expecting CV joints and U-joints to cope long-term.
FAQ's
Q: Can I just put spacers under springs and be done?
A: For small lifts spacers are fine; for anything over 50 mm you need geometry correction and longer shocks matched to travel.
Q: Will my warranty be voided?
A: Check OEM warranty terms with your dealer and the kit supplier. Quality manufacturers supply fitment guides and advice to keep issues minimal.
Q: How much will a professional, safe lift cost?
A: Varies widely; expect to budget for the kit plus additional ancillaries and labour. A moderate, well-specified lift is an investment in capability and safety.
Final Summary
A lift is about more than clearance and looks; it is a system change that touches steering, braking, driveline, and handling. Choose the right type and kit for your intended use; match springs, shocks and geometry fixes; and have a qualified workshop fit and tune the system.
If you want help selecting the correct lift for your vehicle, tell the Superior Engineering technical sales team your make, model, target lift height and typical load. We will recommend a complete solution, springs, shocks and geometry components, that keeps your rig safe, stable and ready for whatever Australia throws at it.
For More Information - Call Our Sales Team On
(07) 5433 1411